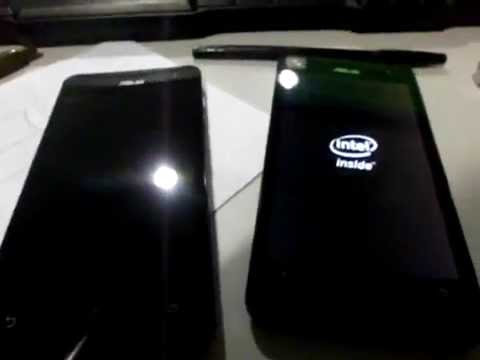
I’m sure there are people out there suffer from this painful and stressful situation. Yeah a boot loop never ending stuck on Intel logo for their Zenfone 5 (and/or maybe ZF 4 and 6).
Well, not really painful for me, because it’s not my own phone 🙂 Just helping my friend fixing his phone. Now I have something to write on my quiet and lonely blog. Please keep it in mind, I wrote this only for Zenfone 5 T00J A501CG WW. Never tested on ZF 4 / ZF 6. Try on your own risk!
So, let’s start!
There are some ingredients, please prepare to download several things:
- Intel USB Driver. Download here
- Asus USB Driver. Download here
- Asus Flash Tool 1.0.14. Download here
- Asus Zenfone 5 RAW firmware. Download here
- xFSTK Downloader. Download here
- iSoc USB Driver. Download here
- Recovery Image. Download here
- ADB + Fastboot. Download here
Make sure you charge your device, and use a good USB data cable.
Let’s begin the work
- Install All driver and application you have downloaded before
- extract ADB and Fastboot.
- Extract the firmware and look for these 5 files, you can copy them to another folder for easier access:
- sec-dnx_fwr.bin
- sec-ifwi-prod.bin
- sec-dnx_osr.bin
- droidboot.img.POS_sign.bin
- soft_fuse.bin
- Open xFSTK Downloader application, and click on the CLVP A0/B0/B1 Tab

- Select sec-dnx_fwr.bin for FW DnX, sec-ifwi-prod.bin for IFWI, sec-dnx_osr.bin for OS DnX, and droidboot.img.POS_sign.bin for OS Image.
- Click on Options and select Modify Settings, click on the CLVP A0/B0/B1 Tab
- Check “Include Softfuse File” and select soft_fuse.bin
- Click OK

- On our device, press Power + Volume Down button then connect to your computer. If the device starting up and stuck on Intel logo, then turn it off again by pressing Power button for approx. 5 seconds until the screen is off, then try again pressing Power + Volume Down button until the Device Status on xFSTK application shows CLOVERVIEWPLUS TARGETS DETECTED: 1
- Press Begin Download button. Now wait until xFSTK shows Success Messages on Download Status.
- Once finish, you can access fastboot again on your device by pressing Power + Volume Up button.
Is it finish? well no, we have boot image but our device doesn’t have anything yet, just a fastboot. Now we continue with flashing the recovery image to our device.
- Make sure your device is on fastboot and connected to your computer
- Now open the adb and fastboot folder you extracted before, Shift + Right Click on the empty space inside the folder and select Open Command Window Here
- CMD window will now open directly into the adb fastboot folder
- Type fastboot flash recovery 1.17.40.16_ww_recovery.img then press Enter (1.17.40.16_ww_recovery.img is the recover image file)
- Wait until finish, and your device will reboot… after that you will reach a sleeping android screen. voila now we have recovery image on our device
Now the last thing we need to do is install the firmware:
- Make sure your device connected to your computer
- Run ASUS Flash Tools, it will automatically detect your device, if it not, then try to reconnect again, and make sure you already installed ASUS USB driver. Flash Tool will list your device and the state will be a blue orb.
- Select your device model, in my case A501CG
- If you want to wipe data, then select Yes on Wipe Data
- Click on the box button to select your RAW file
- Now press Start (the green orb button)
- Be patient and wait until it finished, the State will turn yellow while progress, and turn green when success.

Now you have your device back online!
Update May 30th.
Looks like some files are password protected now.
For the courtesy of the uploder, please visit www.asus-zenfone.com for the password.
